Backing up SynergyCP #
The backups package can make on-demand ad-hoc and automated backups of the SynergyCP database. It does not copy the bandwidth database to save space. The backups are copied off-site via secure copy (SSH) authenticated by private key.
There are two distinct steps to ensure your installation is fully backed up:
Make a configuration backup #
The configuration data does not change over time. You only need to make one backup of the configuration per installation.
Sensitive information in SynergyCP’s database (e.g. Switch/IPMI authentication details) is encrypted. That encryption uses a secret key unique to your SynergyCP install, which can be downloaded as part of the configuration backup.
WARNING: Without the secret key, the information in your SynergyCP database will be unrecoverable, so it is important that the configuration be saved in a safe and secure place.
The configuration should be backed up on a completely separate physical machine from the database backups so that access to the database backups does not give an attacker all of the sensitive information. A suggestion would be to store it in your password manager’s file function.
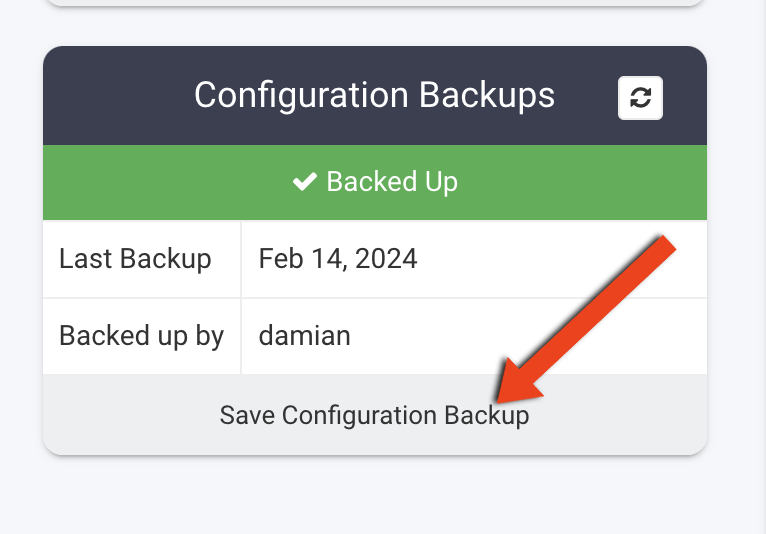
To make a configuration file backup, go to System > Backup, and click the Save Configuration Backup button, click the Download button, and store the .tar.gz in a safe and secure place.
Set up recurring database backups #
Set up a remote Linux server with a standard Linux user, we will use backups as an example (any username will work).
In SynergyCP, go to System > SSH keys and generate an SSH key. Copy the public key displayed to you, and add it to ~/.ssh/authorized_keys of the remote user you created above.
Make a directory under the remote user’s home directory on the remote server, we will use /home/backups/scp-db as an example. Make sure the backups user has write access to that folder if creating the folder as a user other than backups or the user you created.
In SynergyCP, go to System > Backup Destinations and create a new destination. Select Secure Copy via SSH as the Handler and put in the hostname, username, and folder that you chose earlier. The hostname can include a custom port via the syntax example.org:22.
Now, go to System > Backups, and click View All Backups in the Latest Backup box. At the bottom of the page, select Main Database as the Source and the newly-created destination in Destination. Click Create archive and refresh the list after a minute (or longer if you have a lot of servers) to check the status and make sure that the backup is reported as Finished. Then go to System > Backups, and in the Recurring Backups box, click Configure Recurring Backups and set up a recurring backup using the same information.